Mom’s Christmas Cookies

My mom passed away just over a year ago. We went through Christmas without her last year for the first time, but there is still a different feel this year.

One of the ways both my sister and I remember mom is through her baking. There were several classic cookies, and similar treats, she made every year. Neither of us makes the whole collection, but we both have settled into a couple favorites.

For me they have become something I take around to share with friends. Which had led to lots of requests to share recipes. Since mom shared the recipes freely I figured I’d do the same for the ones I make all the time.

Fudge Nut Bars (without nuts)

These are really a year round favorite, but at Christmas usually our households will go through several trays.

Ingredients

Bars:

  • 1 Cup Butter
  • 2 Cups Brown Sugar
  • 2 Eggs
  • 2 Tsp Vanilla
  • 2 ½ cups flour
  • 1 tsp baking soda
  • 1 tsp salt
  • 3 cups rolled oats

To make bars GF:

  • Replace flour with 2 ½ cups all-purpose GF flour.
  • Add 1 tsp Xanthan Gum
  • Make sure to use GF oats.

Topping:

  • 12 ounces chocolate chips
  • 1 can (14 oz) sweetened condensed milk
  • 2 tbl butter, melted
  • ½ tsp salt
  • 2 tsp vanilla

Instructions

Topping:

Mix chocolate pieces, condensed milk, butter, and salt in double boiler (or heat in microwave using 30 second bursts). Stir until smooth. Add in vanilla when done heating.

Bars:

Preheat oven to 350°

  1. Cream together butter and brown sugar.
  2. Add eggs and vanilla.
  3. Add dry ingredients to creamed ingredients.
  4. Spread two-thirds of mixture on bottom of 15 x 10-inch jelly roll pan, pressing into all the corners.
  5. Cover with topping.
  6. Drop remaining oatmeal mix on top and swirl over topping.
  7. Bake at 350° 25-30 minutes.

Christmas Tree Almond Press Cookies

These require a cookie press, and can actually be made in many colors and shapes – but in our family the almond ones were nearly always Christmas tree shaped. See picture at the start of the recipe.

Ingredients

  • 1 ½ cup butter
  • 1 cup sugar
  • 1 egg
  • 1 tsp vanilla
  • 1 tsp almond extract
  • ¼ tsp salt
  • 1 tsp baking powder
  • 4 cups flour
  • Green food coloring (Wilton Kelly Green was Mom’s clear preference)
  • Decorations if desired.

Instructions

Preheat oven to 400°

  1. Cream butter until very soft.
  2. Work in sugar, then egg, then vanilla, then almond
  3. Sift together dry ingredients and add gradually.
  4. Color as desired. Don’t fear over mixing, make sure the color is what you want and evenly distributed.
  5. Form cookies with press on an ungreased baking sheet. Decorate if desired.
  6. Bake at 400° for 8-10 minutes.
  7. Cool for a minute on the tray, and then transfer carefully to a wire rack until cool.

Birthday Baking

Every year I bake something for myself on my birthday. It’s a pair of things my mother accidentally taught me.

While for much of my life my mother did not like to talk about her own birthday, she loved to celebrate mine, my sister’s, her grandchildren’s, all were cause for her to bake a cake, or some other marker, to share with our friends. But my mother never ate those cakes: she was allergic to wheat.

A picture of a picture, featuring my mother and a few friends watching me as I'm about to cut a birthday cake.
That’s me in red, about to serve cake and ice cream at a birthday party.

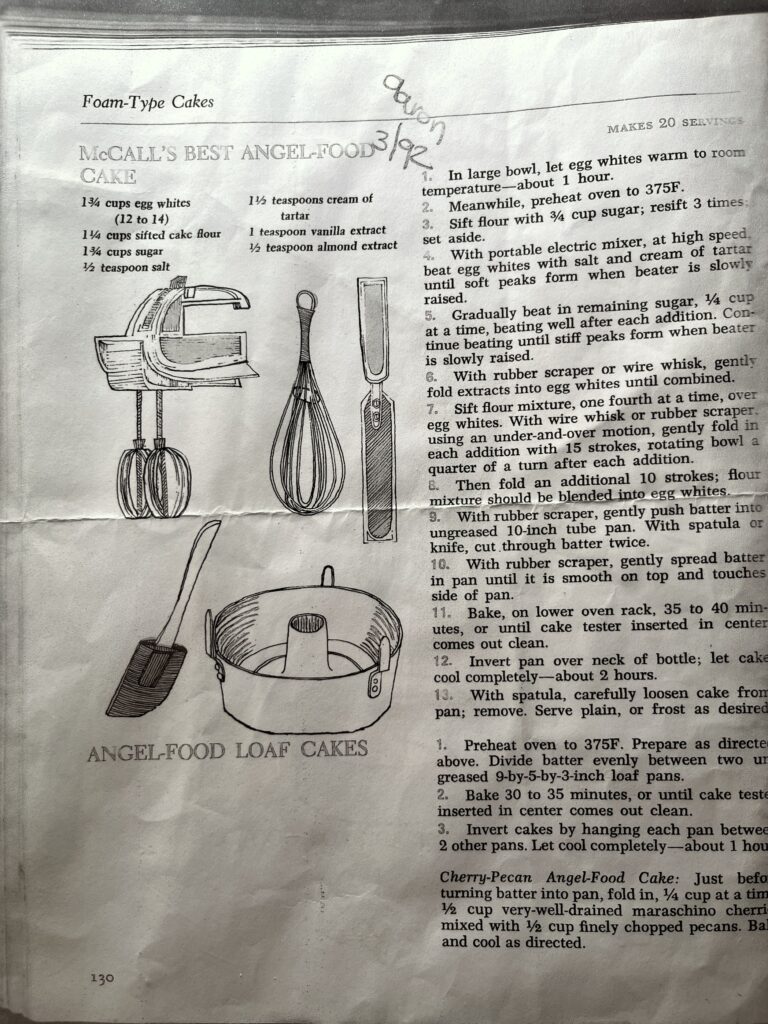
She baked a lot at other times as well: wedding cakes for family and friends, pies and cheese cakes for holidays, mountains of cookies for the annual Christmas open house, and snacks for her students just because they might need a pick me up. Through all that baking, mom taught me that baking was something you did for other people. It wasn’t her intention, but it was what I learned. One of my first memories of baking myself was making an Angel Food Cake for my grandfather.

An angle food cake recipe, with Aaron 3/92 written at the top.

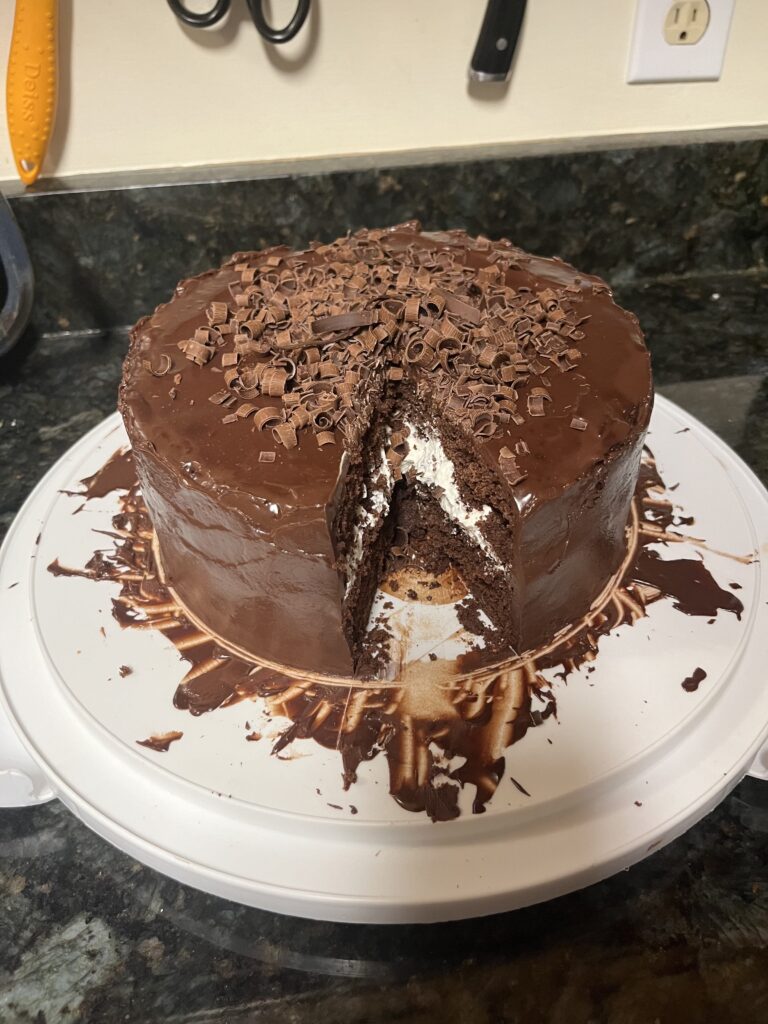
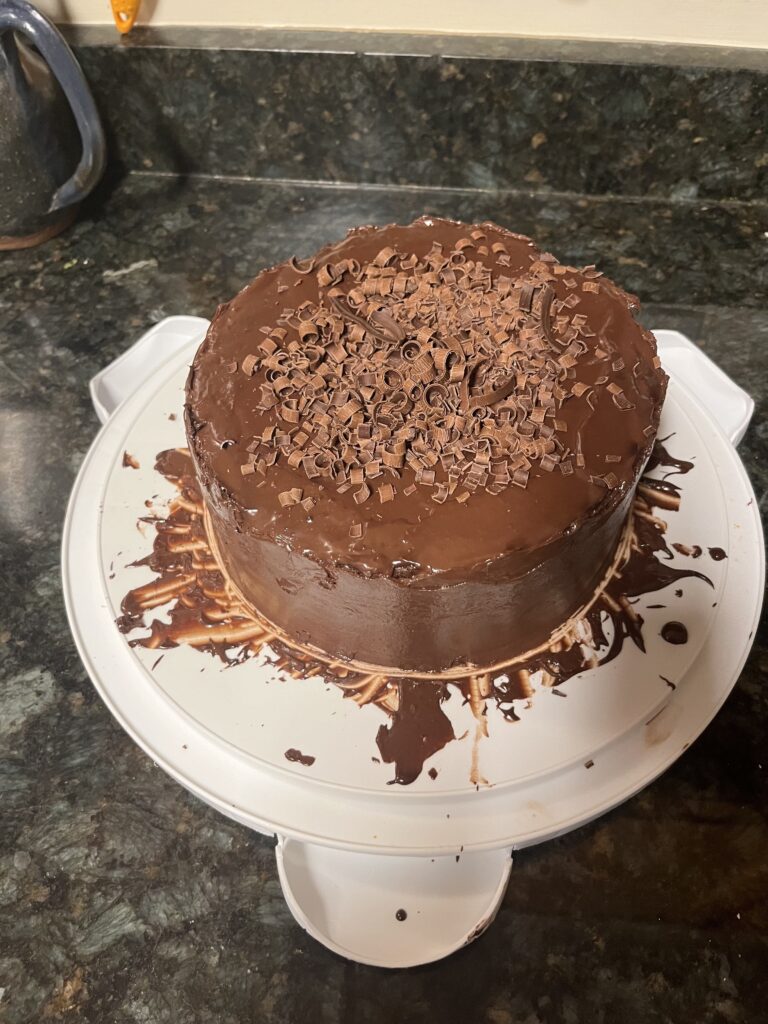
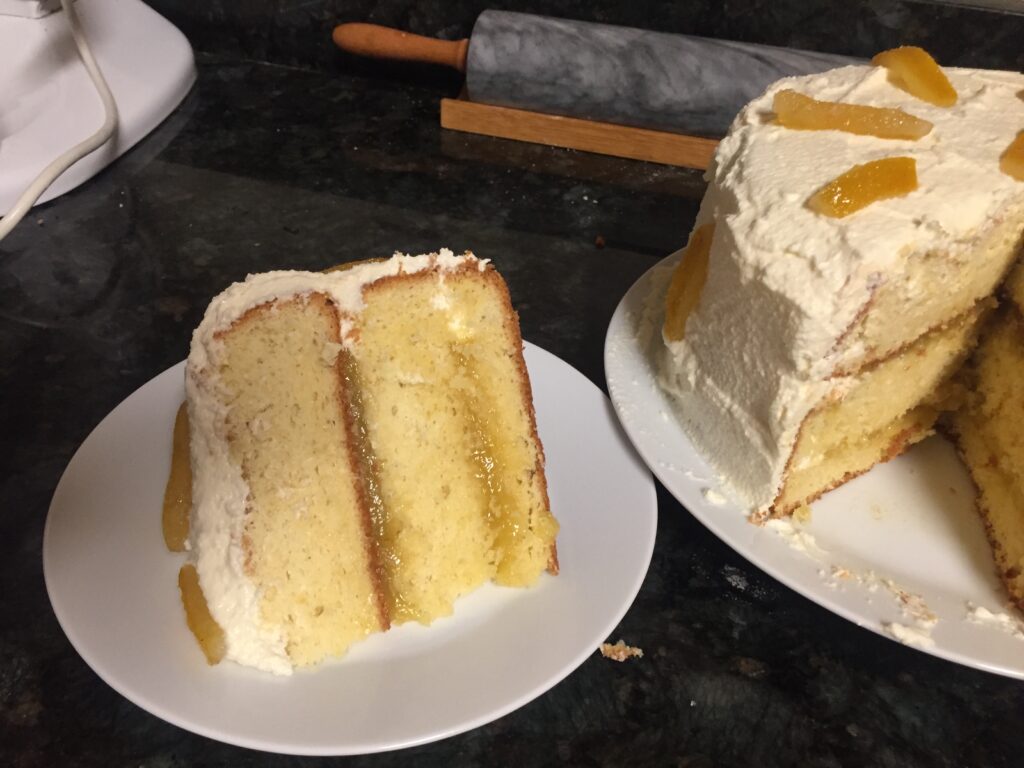
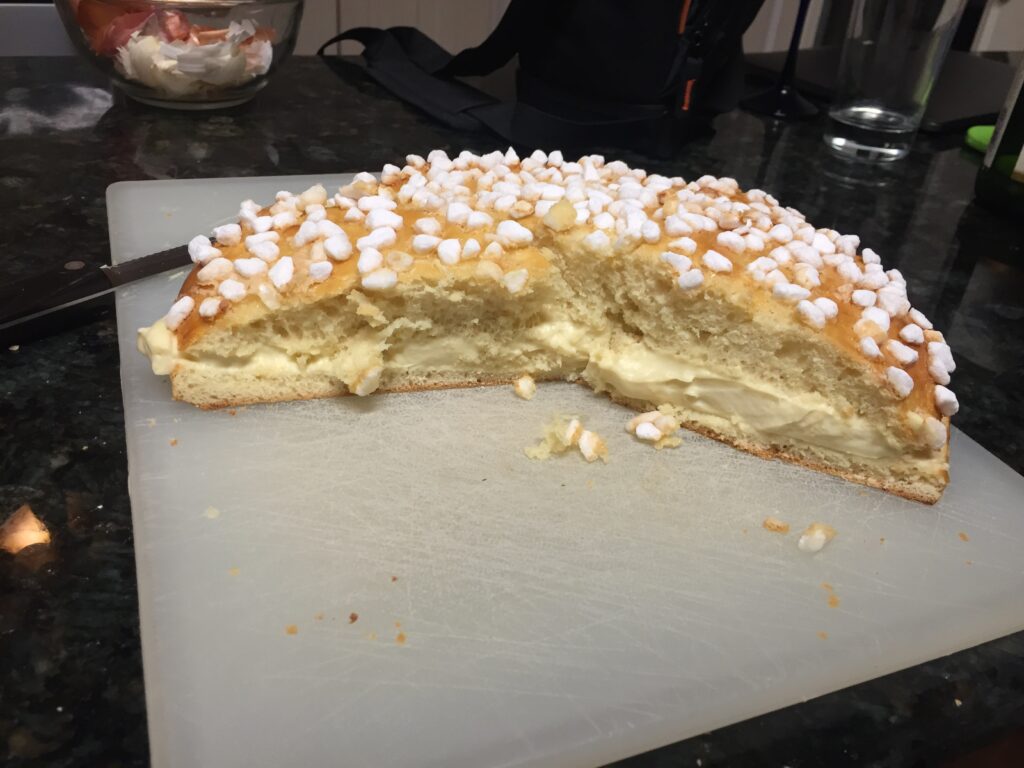
And so I only bake for myself once a year: to celebrate my birthday. This year’s cake was adapted from one in The Great British Baking Show: Love to Bake (which needs adaption as it’s written for a British audience and so has different flour, sugar, measurements, and nomenclature from US-centric cookbooks.)

I’ll get back to my series on writing for developers and technical consultants soon. But the next couple of pieces are still coming together. Sometimes editing take awhile.

How to create a good trouble ticket

This week I was working with a new colleague on our account team. As with all people knew to working with technical teams and bug tracking, she’s having to learn how to create good trouble tickets for when clients report issues. This is a challenge I’ve seen played out in every place I’ve ever worked: developers want detailed tickets so we can dive in without asking 16 follow up questions, and people creating tickets don’t actually know what we want and assume we know how to find and fix the problem.  And so I’d like to try to offer this explanation of what we’re looking for and why.

At the most basic level I need to know at least three things to find and fix a problem on a project (either a web site or some other tool I’m supporting):

  • Where in the program is the problem? This is usually a link to a sample page that has the problem.
  • What happened? I need a clear explanation of what went wrong. Is there a picture missing? Is the text format wrong? Is there a big red error message at the top?
  • What you expected to happen? What is the picture of and where exactly was the picture supposed to appear? What formatting was supposed to appear on the text? Did you do something right before the error message appeared that helps me see that message again?

These things are part of allowing me to reproduce the problem.  If I can’t reproduce the problem, I can’t promise you I fixed it. If you can’t reproduce the problem, you can’t check that I’m right.

Developers will often say that if you can’t give me the step to reproduce a problem I can’t fix it. But in my experience sometimes a problem is actually really hard to reproduce, and you need a developer or a professional tester to actually figure out those steps. So it’s okay if you can’t give me perfect directions, but give me what you have.

If you find yourself writing a ticket that doesn’t say more than “Search is broken” or “Blog post didn’t look right” the problem better be massive (think big red error message level). As an account/support team member that may be all you got from the client but someone has to fill the gaps – and developers are terrible people to have fill those gaps.

As a developer there are several reasons that’s true.

First, rarely do developers get the luxury of working on one project for an extended period, and when they do those tools are large and complex. So we probably don’t have every detail in our heads at any moment. If we could store all that information we wouldn’t need task tracking systems, you could just call us and tell us about a problem as we’d call you back a few hours/days/weeks later and say “fixed”.

Second, we’re terrible at finding mistakes in our own work. Like everyone else, we need editors. If I could see the problem you are reporting, I would probably have fixed it, or at least reported it to you so we could open a task to get it fixed later.

Third, we probably don’t spend as much time in the project documentation as you do. So if someone needs to track down the original design to check for a discrepancy between the design and what’s happening a developer is probably going to be much slower at this task than you are (or you will become soon).

Also remember your developer probably will not look at the problem today unless it’s mission critical to the client. So they need to be able to figure out three weeks from now what you were talking about.  If it just says: “search is broken” and I run a search in two weeks and everything looks fine, you are going to need to tell me what’s broken about it (maybe a result is missing, maybe it’s formatted wrong, maybe it’s working perfectly but the client doesn’t like the results).

Even with all that context, I know it is intimidating for many new support or account team members to crack the code developers use when talking. We over explain this, using technical terms, and get annoyed too quickly when people don’t understand us. And we often forget that teaching by analogy is helpful.

My new colleague is a baker, and so as I was trying to help her understand what I needed to be helpful on tasks I switched to bread:

If I came to you and said “my bread didn’t work out, please tell me how to fix it” how would you start?

That helped her make the connection. Just saying my bread didn’t work out, doesn’t tell her enough to help me do it right next time. She’s going to have to ask several follow up questions before she can be helpful.

  • Did it taste wrong or look wrong?
  • What kind of bread was it?
  • Did you follow the instructions or do something different?
  • Are your ingredients fresh?
  • Did it rise enough?
  • Did you knead it enough?
  • Did you set the oven to the right temperature?

On the other hand if I come to her and say:

I tried to make sourdough oatmeal bread over the weekend. I followed the recipe closely, but my bread turned out really dense instead of having the bready texture I expected.

Now she knows there was a problem getting the bread to rise. So we can focus questions on the yeast and other details of getting air into bread. Yes, there are still several things that could have gone wrong, but now we know where to start.

Frequently new support staff are intimidated by all the technical things they don’t know. And too often developers brush aside new staff who don’t give them the information they need and just say things like “Oh I’ll figure it myself” instead of helping their colleagues learn. Part of the solution is to help people understand that the first set of questions aren’t actually technical. Baking isn’t the right analogy for everyone, but it helped in this case. And hopefully next time I’ll do better at getting to a better explanation quickly.

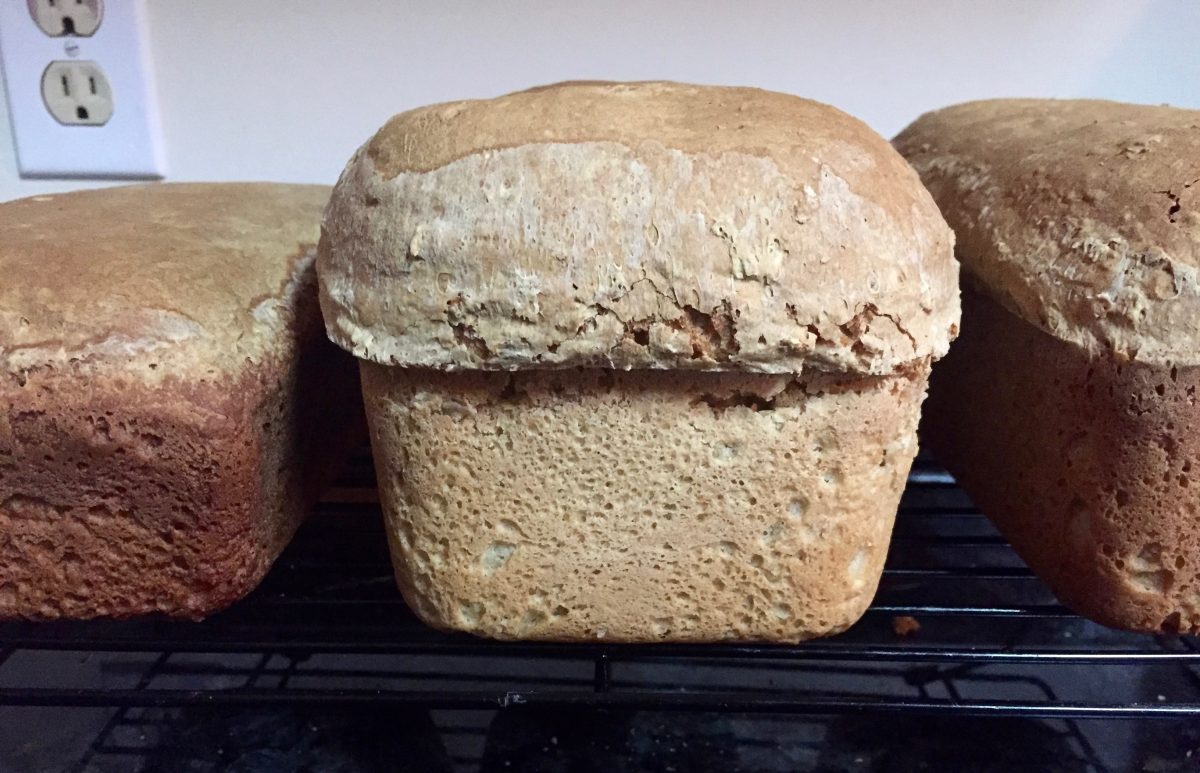
Also, my bread came out fine and I’m taking her a loaf this weekend. You are welcome to try my Sour dough oatmeal bread recipe.

Let them eat Drupal Cake

Last week Cyberwoven hosted the local SC DUG. To encourage people to come when we hold these events in Columbia I’ve blatantly started to bribe people with baked goods: I give the presenter a choice of Cookies, Cake, or Pie – everyone picks cookies (unless I swap in Brownies instead of cookies then they pick brownies), no one asks for pie or cake. This month Will gave a talk about Docker and asked for cake! Since I was excited to finally have someone actually ask for something interesting I decided to do something Drupal themed:  I made Drupal Cake.

Turns out if you go Googling for Drupal cake you get ideas for how to make a yellow or white cake and decorate it with a Drupal logo. There are some notable counter examples, but I wanted something with more Drupal baked in.

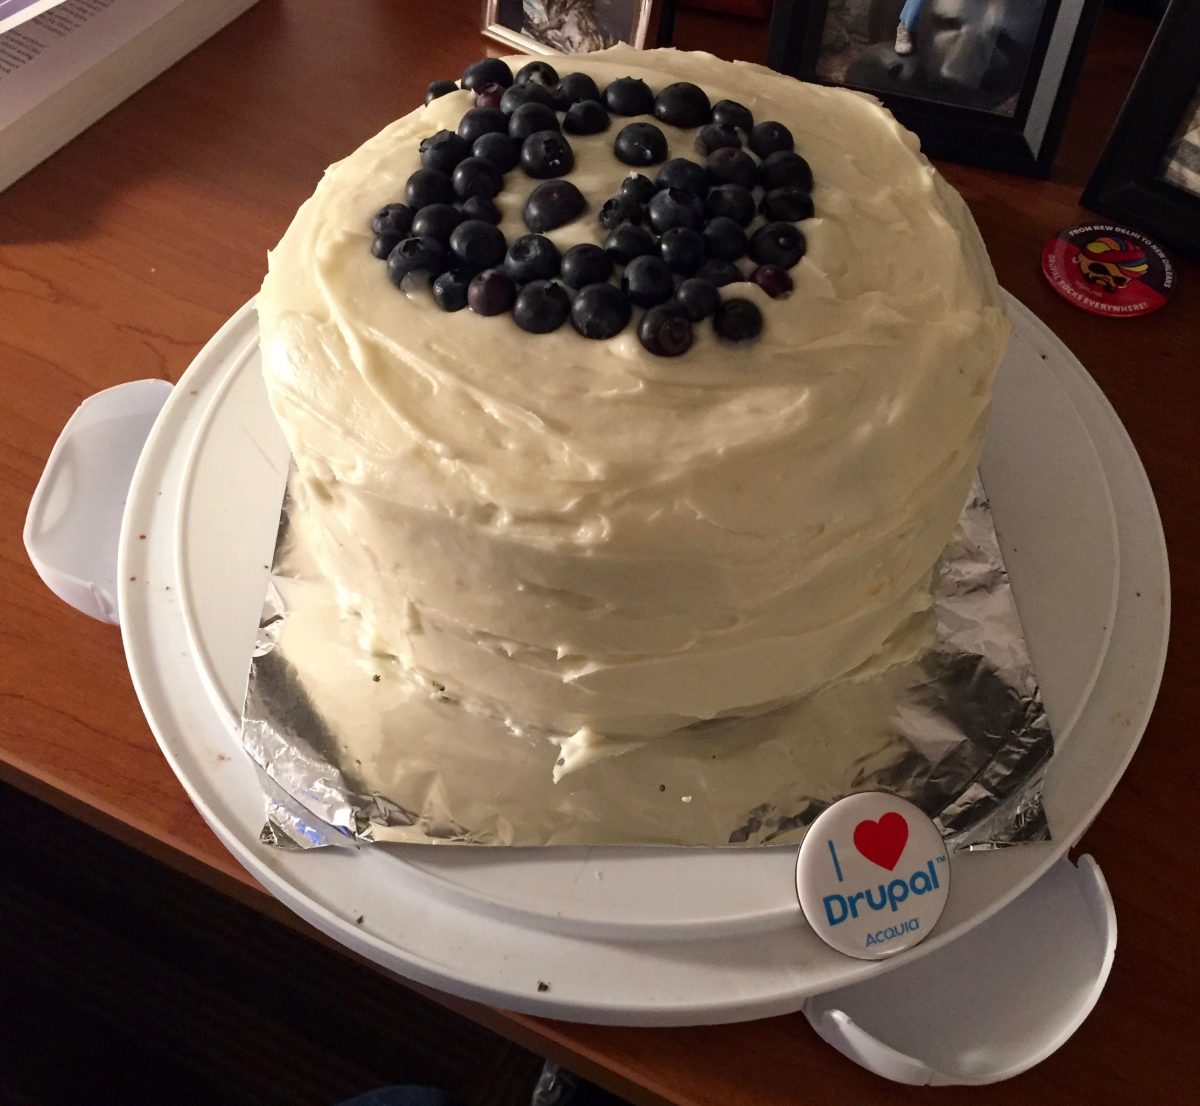
So I made a Chocolate Blue Velvet Cake with a Drupal logo in blueberries.

This recipe is derived from All Cake’s Considered’s Dark-Chocolate Red Velvet Cake (if you’re an NPR-nerd you should buy a copy but it is also available in its entirety from the Internet Archive – I assume legally).

Of course hers is red, and I wanted blue. But since my actual inspiration came from people providing recipes (mostly bad ones) for baby shower cakes getting suggestions about how much food coloring to use wasn’t hard. So a little marriage of ideas and you have Chocolate Blue Velvet Drupal Cake.

Ingredients

Cake:

  • 2 Sticks of unsalted butter at room temperature
  • 1 ¼ cups sugar
  • 1 ¼ cups brown sugar
  • 6 large eggs at room temperature
  • 2 teaspoons vanilla extract
  • 3 cups all-purpose flour
  • ½ teaspoon baking soda
  • ¼ cup Dutch process cocoa
  • ½ teaspoon baking powder
  • 1 cup sour cream
  • 1 ounce Blue icing coloring (my version used food coloring but didn’t have quite the color I wanted.  Icing coloring is usually stronger so this should get you closer).

Icing:

  • ½ cup (1 stick) unsalted butter at room temperature
  • 2 8-ounce packages cream cheese at room temperature
  • 32-ounces of confectioners’ (powdered) sugar.
  • 1 teaspoon vanilla extract
  • 1 package of fresh Blueberries

Instructions

  1. Preheat the oven to 325°F
  2. Cream the butter and then gradually add the sugars beating well as you go.
  3. Add the eggs one at a time, beating well between each.
  4. Add the vanilla extract and beat for another couple of minutes.
  5. In a separate bowl combine and lightly mix the dry ingredients.
  6. Alternate adding roughly ⅓ of the dry mixture followed by ⅓ of the sour cream, beating well after each addition, until all of both are fully incorporated.
  7. Add the coloring, and continue to beat well.  After a minute stop the mixer and using a spatula to get any unevenly dyed batter off the sides and bottom, and then beat until the color is even.
  8. Pour the batter into a pair of well greased 8 or 9-inch round cake pans, and place them in the oven so they have as similar of conditions as possible.
  9. Bake for 45 minutes or until the cake tests done.
  10. Cool the layers in their pans for 10 minutes and then remove from their pans carefully.  Let them cool to room temperature.

Frosting:

  1. Cream the butter and the cream cheese at medium speed.
  2. Gradually add the confectioners sugar.  Continue beating until the it is light and fluffy.

To Assemble the Cake:

  1. Wait until the cake is fully cooled to room temperature. You need one to be flat (to form the bottom layer) so if domes formed on both cakes, use a long knife to cut the top of one layer to be flat (you can do both if you want the top flat, but drops are round).
  2. Place about a ⅓ of the icing in a separate bowl, and working from this smaller amount (we’ll get back to the rest later – this is just to avoid getting crumbs in your icing) put a smooth later cross the top of the bottom layer.
  3. Place the top layer on the bottom layer, and ice the top of the cake, and then the sides. This first coat should be fairly thin.  Give it a few minutes to dry on the surface before proceeding with the second coat.
  4. Using the rest of the icing, apply a thick final coat of icing, particularly on top.
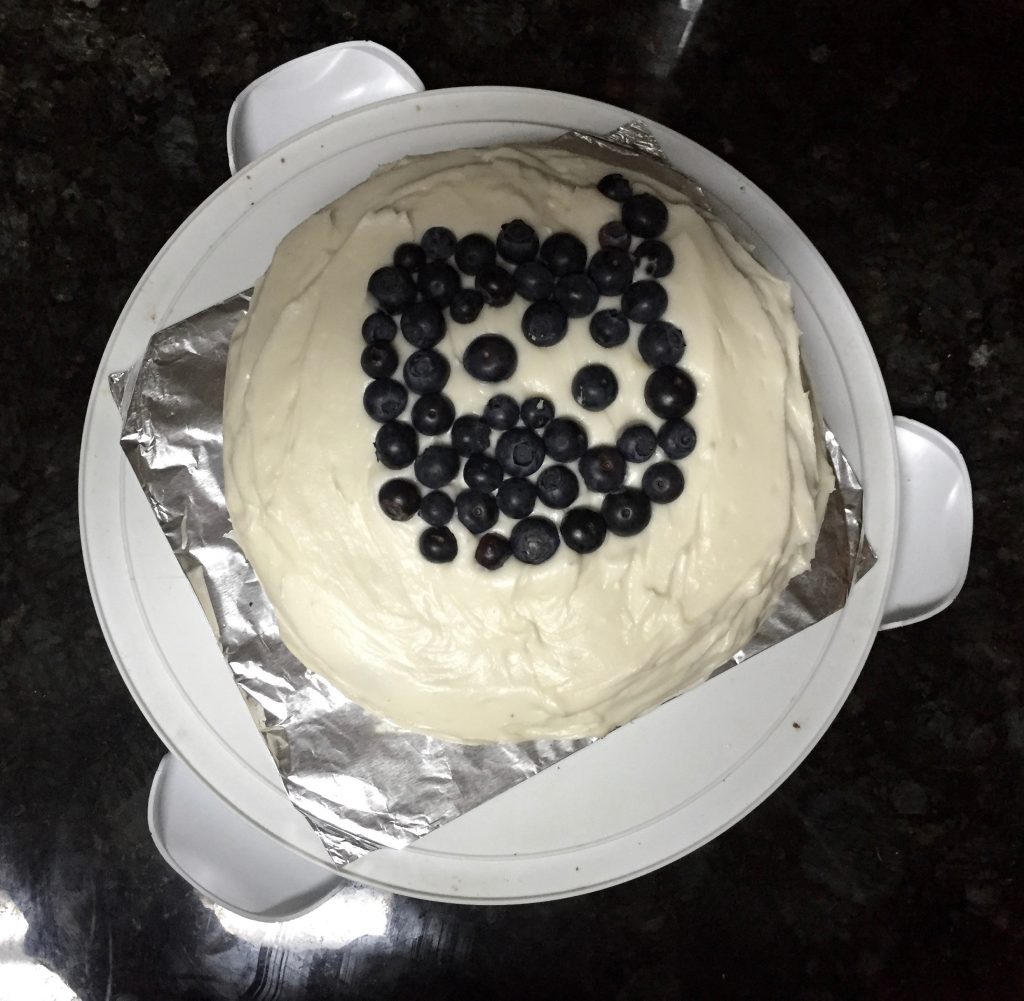
  5. Using the blueberries attempt to create a Drupal logo pattern on the top of the cake.

Top view of the cake.
I didn’t get a picture of the inside so here’s another view of the logo – yes that’s supposed to be the Drupal 8 logo. Happy 1st birthday to Drupal 8.